
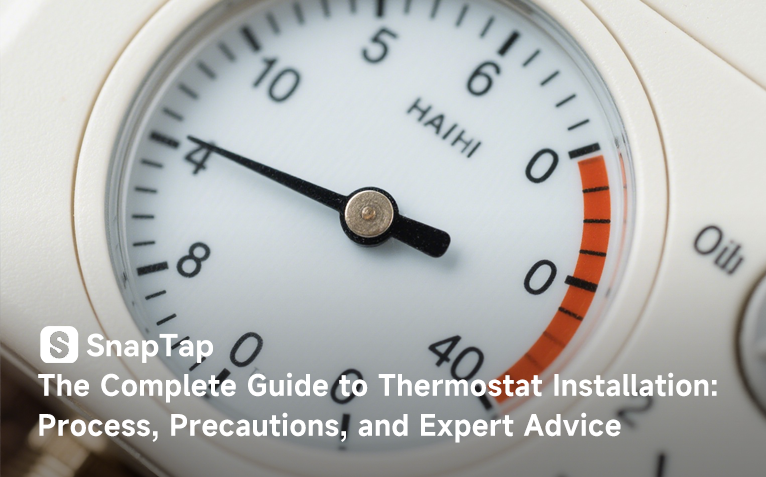
Installing a thermostat is an upgrade many households consider when looking to improve indoor comfort and energy efficiency. Although many thermostats on the market advertise “DIY installation,” the actual process often involves complexities such as electrical wiring, voltage compatibility, and system matching, which are far more intricate than they appear. Improper installation can lead to malfunctioning devices and, in some cases, even electrical short circuits or damage to the HVAC system. Therefore, understanding the full process and essential precautions of thermostat installation is critical to ensuring a smooth setup and safe operation.

Before beginning the installation, users need to take a few preparatory steps. First, choose an appropriate location for the thermostat. Ideally, it should be placed away from windows, doors, heating vents, or areas exposed to direct sunlight to avoid inaccurate temperature readings. Next, power should be turned off to ensure safety during the installation process. Users should also prepare the necessary tools, such as screwdrivers, voltage testers, a level, and wire strippers, to facilitate a smooth installation experience.
Installing a thermostat typically involves several key steps. The process starts with removing the old thermostat. After turning off the power, remove the existing unit and take notes or photos of the current wiring layout for future reference. Then, based on the new thermostat's wiring diagram, connect the corresponding wires to the correct terminals on the new unit, ensuring that every connection is secure. Mount the base plate to the wall, attach the main unit, and verify it is level. Finally, restore power, set up the device, and run a functional test to make sure the system properly responds to temperature changes.

Several common issues may occur during the thermostat installation process. These include wiring errors, voltage mismatches, and unstable signals. Some older HVAC systems operate on a 24V setup, while many modern smart thermostats require an additional C wire (common wire) to provide continuous power. If this wire is missing, the device may fail to start or reboot frequently. In addition, weak Wi-Fi signals can interfere with the remote-control capabilities of smart thermostats. Therefore, it's crucial to confirm your system's compatibility in advance and strictly follow the instructions in the product manual.
While some users have the technical know-how to complete basic DIY installations, it's recommended to hire a professional technician—especially since thermostats are closely tied to the performance of heating and cooling systems. A professional can efficiently complete the wiring based on your specific setup and use specialized tools to verify that everything is working correctly. This minimizes the risk of future malfunctions or energy waste. Proper thermostat installation not only improves the accuracy of indoor temperature control but also helps reduce overall energy consumption, enhancing the comfort and efficiency of your home.